sudo sed -i 's/archive.ubuntu.com/mirrors.ustc.edu.cn/g' /etc/apt/sources.list
sudo apt update
sudo apt install -y tasksel
sudo tasksel install ubuntu-desktop-minimal
然后正常重启就可以了
sudo sed -i 's/archive.ubuntu.com/mirrors.ustc.edu.cn/g' /etc/apt/sources.list sudo apt update sudo apt install -y tasksel sudo tasksel install ubuntu-desktop-minimal
然后正常重启就可以了
composer require php-mqtt/client<?php
require __DIR__.'/vendor/autoload.php';
use PhpMqtt\Client\MqttClient;
$client = new MqttClient('127.0.0.1', 1883, 'client1');
$client->connect();
$client->publish('topic', 'Hello World!');
$client->disconnect();<?php
require __DIR__.'/vendor/autoload.php';
use PhpMqtt\Client\MqttClient;
$client = new MqttClient('127.0.0.1', 1883, 'client2');
$client->connect();
$client->subscribe('topic', function($topic, $message) {
echo $topic, $message, PHP_EOL;
});
$client->loop(true);
$client->disconnect();brew install visual-studio-code


首先引入 MQTT 库:
<dependency>
  <groupId>org.eclipse.paho</groupId>
  <artifactId>org.eclipse.paho.client.mqttv3</artifactId>
  <version>1.2.5</version>
</dependency>
然后编写相应 Java 代码,MqttClient 中的第三个 null 参数非常重要,如果没有设置在 Linux 下会因为权限问题出错。
public static void main( String[] args ) throws MqttException {
    MqttClient client = new MqttClient("tcp://localhost:1883", "client1", null);
    client.connect();
    client.publish("topic1", new MqttMessage());
    client.disconnect();
}通过 brew 安装 mosquitto,并启动
brew install mosquitto
mosquitto -v
打开终端订阅 topic1
mosquitto_sub -t topic1打开新的终端往 topic1 发消息
mosquitto_pub -t topic1 -m "HelloWorld"docker run -e KEYCLOAK_USER=admin -e KEYCLOAK_PASSWORD=admin -p 8080:8080 quay.io/keycloak/keycloak:14.0.0使用浏览器访问 http://localhost:8080,用户名:admin,密码:admin 访问
首先对源仓库执行 clone
git clone --mirror git@domain1.com:group1/repo1.git然后对目标仓库执行 push
git push --mirror git@domain2.com:group2/repo2.git这样 2 个仓库内容就完全一致了
curl -L "https://packages.gitlab.com/install/repositories/runner/gitlab-runner/script.rpm.sh" | sudo bash
yum install -y gitlab-runner在 gitlab 后台注册新的 runner,按照提示输入命令,运行方式选择 docker, 默认镜像选择 docker:stable
gitlab-runner register --url http://172.20.103.21 --token xxxxxxxx
systemctl enable gitlab-runner
systemctl restart gitlab-runnercurl https://get.acme.sh | sh -s email=admin@domain.comacme.sh --issue --dns -d yourdomain.com \
--yes-I-know-dns-manual-mode-enough-go-ahead-please根据提示创建相应的 TXT 记录,再执行
acme.sh --renew -d yourdomain.com \
--yes-I-know-dns-manual-mode-enough-go-ahead-please如果DNS服务器支持API,可以与acme.sh对接,一步完成,以 CLOUDFLARE 为例,如果直接使用 Global API Key,则使用命令:
export CF_Key=00000000000000000000000000000000
acme.sh --issue --dns dns_cf -d yourdomain.com
如果使用首先的 API 权限,则使用命令:
export CF_Token=00000000000000000000000000000000
acme.sh --issue --dns dns_cf -d yourdomain.com当前版本的 acme.sh 默认使用的是 zerossl 作为证书签发服务器,如果你想更换为 letsencrypt,可以使用 server 参数来实现:
acme.sh --issue --dns dns_cf -d yourdomain.com --server letsencryptIP地址:172.20.103.21
系统版本:Rocky Linux 8
firewall-cmd --permanent --add-service=http
firewall-cmd --reload
curl -s https://packages.gitlab.com/install/repositories/gitlab/gitlab-ce/script.rpm.sh | sudo bash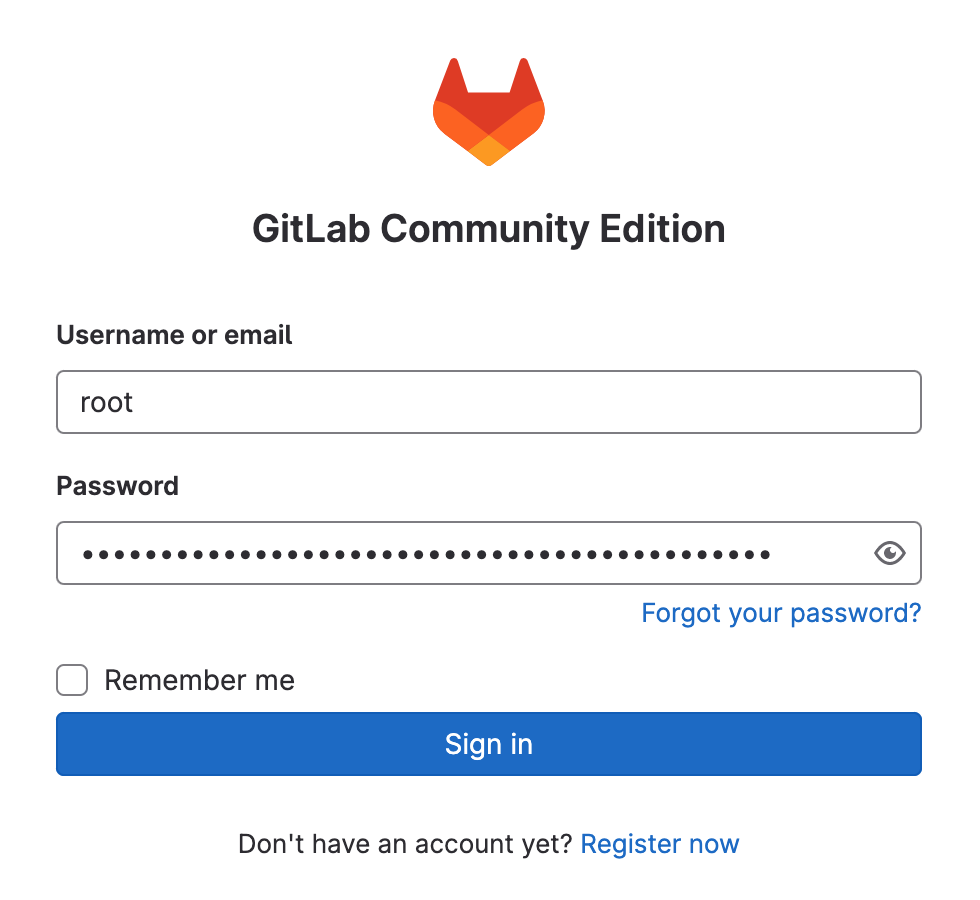
EXTERNAL_URL="http://172.20.103.21" yum install -y gitlab-ce浏览器打开:http://172.20.103.21
默认用户名:root
默认密码在:/etc/gitlab/initial_root_password