docker run -e KEYCLOAK_USER=admin -e KEYCLOAK_PASSWORD=admin -p 8080:8080 quay.io/keycloak/keycloak:14.0.0使用浏览器访问 http://localhost:8080,用户名:admin,密码:admin 访问
docker run -e KEYCLOAK_USER=admin -e KEYCLOAK_PASSWORD=admin -p 8080:8080 quay.io/keycloak/keycloak:14.0.0使用浏览器访问 http://localhost:8080,用户名:admin,密码:admin 访问
首先对源仓库执行 clone
git clone --mirror git@domain1.com:group1/repo1.git然后对目标仓库执行 push
git push --mirror git@domain2.com:group2/repo2.git这样 2 个仓库内容就完全一致了
curl -L "https://packages.gitlab.com/install/repositories/runner/gitlab-runner/script.rpm.sh" | sudo bash
yum install -y gitlab-runner在 gitlab 后台注册新的 runner,按照提示输入命令,运行方式选择 docker, 默认镜像选择 docker:stable
gitlab-runner register --url http://172.20.103.21 --token xxxxxxxx
systemctl enable gitlab-runner
systemctl restart gitlab-runnercurl https://get.acme.sh | sh -s email=admin@domain.comacme.sh --issue --dns -d yourdomain.com \
--yes-I-know-dns-manual-mode-enough-go-ahead-please根据提示创建相应的 TXT 记录,再执行
acme.sh --renew -d yourdomain.com \
--yes-I-know-dns-manual-mode-enough-go-ahead-please如果DNS服务器支持API,可以与acme.sh对接,一步完成,以 CLOUDFLARE 为例,如果直接使用 Global API Key,则使用命令:
export CF_Key=00000000000000000000000000000000
acme.sh --issue --dns dns_cf -d yourdomain.com
如果使用首先的 API 权限,则使用命令:
export CF_Token=00000000000000000000000000000000
acme.sh --issue --dns dns_cf -d yourdomain.com当前版本的 acme.sh 默认使用的是 zerossl 作为证书签发服务器,如果你想更换为 letsencrypt,可以使用 server 参数来实现:
acme.sh --issue --dns dns_cf -d yourdomain.com --server letsencryptIP地址:172.20.103.21
系统版本:Rocky Linux 8
firewall-cmd --permanent --add-service=http
firewall-cmd --reload
curl -s https://packages.gitlab.com/install/repositories/gitlab/gitlab-ce/script.rpm.sh | sudo bash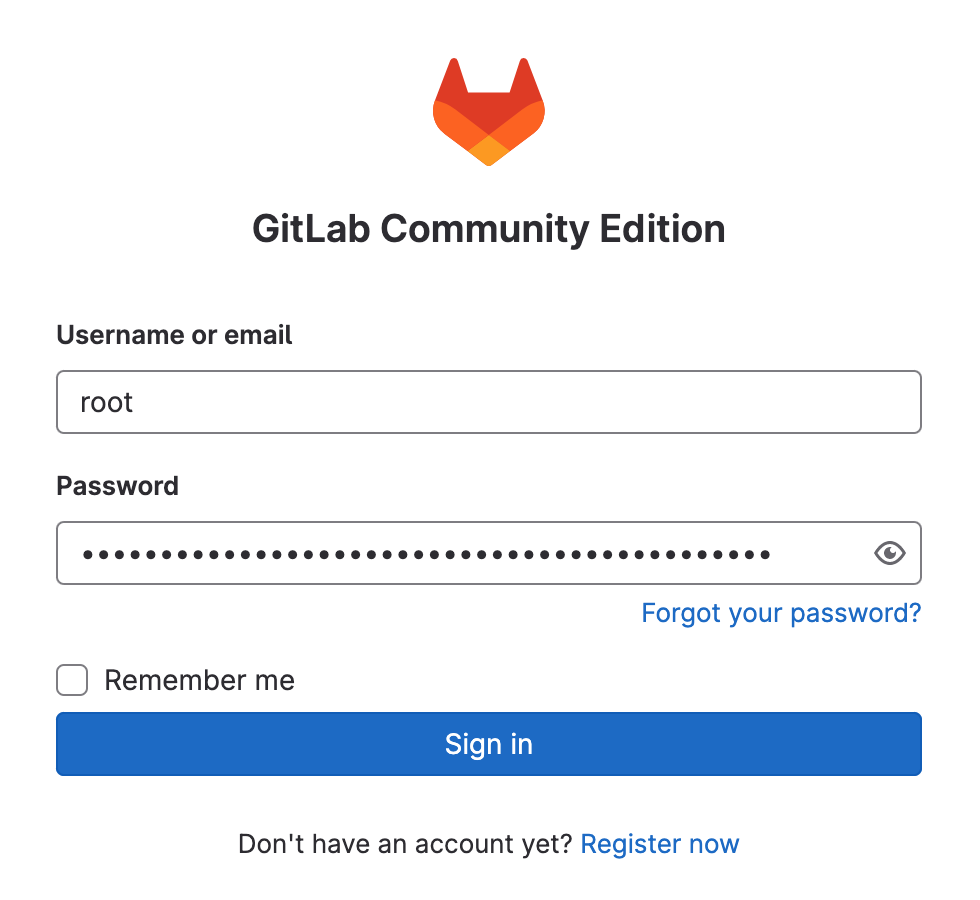
EXTERNAL_URL="http://172.20.103.21" yum install -y gitlab-ce浏览器打开:http://172.20.103.21
默认用户名:root
默认密码在:/etc/gitlab/initial_root_password
在 macOS Ventura 下使用 brew 即可安装 minica
brew install minicaminica -domains 192.168.56.10.nip.io第一次运行的时候,他会自动生成 ca 的公钥和私钥,同时生成 192.168.56.10.nip.io 的公钥和私钥,其中 ca 的有效期为 100 年,192.168.56.10.nip.io 的有效期为 2 年,我们可以查看其具体信息:
openssl x509 -in minica.pem -text -noout
openssl x509 -in 192.168.56.10.nip.io/cert.pem -text -noout我们把 minica.pem 上传至客户端的 /etc/pki/ca-trust/source/anchors/minica.pem 目录
update-ca-trustcert.pem 和 key.pem 按照普通 https 证书放到 web 服务器内即可
sudo sed -i 's/archive.ubuntu.com/mirrors.ustc.edu.cn/g' /etc/apt/sources.list
sudo apt update
sudo apt install -y xfce4 xfce4-goodies
sudo apt install -y tightvncserver autocutsel
vagrant@ubuntu-focal:~$ vncserver

You will require a password to access your desktops.

Password:
Verify:
Would you like to enter a view-only password (y/n)?
xauth:  file /home/vagrant/.Xauthority does not exist

New 'X' desktop is ubuntu-focal:1

Creating default startup script /home/vagrant/.vnc/xstartup
Starting applications specified in /home/vagrant/.vnc/xstartup
Log file is /home/vagrant/.vnc/ubuntu-focal:1.log
vagrant@ubuntu-focal:~/.vnc$ vi ~/.vnc/xstartup

#!/bin/sh

xrdb $HOME/.Xresources
xsetroot -solid grey
#x-terminal-emulator -geometry 80x24+10+10 -ls -title "$VNCDESKTOP Desktop" &
#x-window-manager &
# Fix to make GNOME work
export XKL_XMODMAP_DISABLE=1
/etc/X11/Xsession
startxfce4 &
启动三台虚拟机,节点名称与 IP 分别如下:
node1: 192.168.56.101
node2: 192.168.56.102
node3: 192.168.56.103
在三台机器上分别安装 Redis 服务
yum install -y epel-release
yum install -y redis
修改各个节点 Redis 的配置文件,使其监听在外部网络上
vi /etc/redis.conf
bind 0.0.0.0
启动各个节点上的 Redis 服务
systemctl restart redis
登录 node2 与 node3 设置他们为 node1 的 slave
redis-cli
127.0.0.1:6379> SLAVEOF 192.168.56.101 6379
OK Already connected to specified master
这样一主两从的 Redis 主从就配置好了,在主节点上设置值后,从节点也可以看到值
openssl s_client -connect mail.neu.edu.cn:443
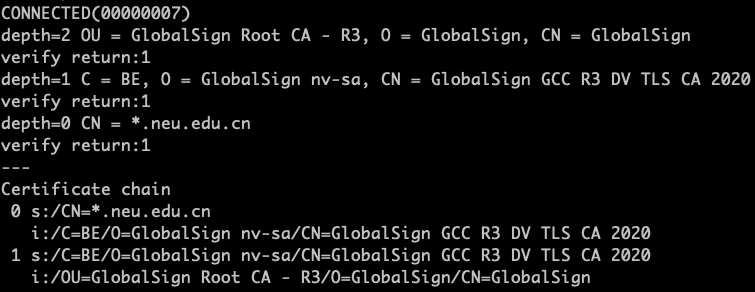
每一层的 depth 都要跟下面的 chain 能对应上,否则就是有问题的,靠浏览器测试不一定靠谱。
sudo apt install -y xrdp
sudo systemctl enable xrdp
sudo systemctl start xrdp
然后使用远程桌面客户端工具就可以链接上 Ubuntu 机器了